


Android Navigation Components: NavigationUI - Toolbar, Navigation drawer, Bottom navigation


This is the fourth article of series Android Navigation components. In the earlier articles I covered Introduction to Navigation componets, Actions in a navigation graph and Passing data between destinations. If you have not checked them, I recommend you look at them before continuing.
This article focuses on NavigationUI class of Android Navigation Component. The class contains static methods that manage navigation with top app bar, navigation drawer and bottom navigation.
NavController is the primary method of navigating between destinations. It is responsible for replacing content of NavHost with new destination.
In most cases UI elements such as toolbar and other persistent navigation controls such as bottomNavigationView live outside of the
NavHost, and need to be updated as you navigate between destinations.
OnDestinationChangedListener method of NavController is called when current destination or its arguments change. NavigationUI uses this method to make common UI components navigation aware.
New Listener can be added using addOnDestinationChangedListener method.
Wait! I believe that was sufficient introduction to NavigationUI class :( :( . Now let us look at how to implement a toolbar and bottomNavigationView using methods provided by NavigationUI class.
For this series I have implemented a simple project. You can find it here: Github project. Please check it out and follow along.
Navigation components provides setUpWithNavController(navHostFragment.navController) which configures bottomNavigationView and toolbar automatically.
We will be implementing navigation inside of another screen. Therefore we will create another navigation graph. We will have a child fragment that will be
NavHostof the second navigation graph.
Add the second Navigation graph
To add the navigation graph
Right click on the navigation folder>new>Navigation resource file.
Enter the name.
click ok.
This will create a new navigation resource file in the navigation folder.
Open the newly created navigation graph in the navigation editor to add destinations.
In the design tab, click
 to add a new destination to the navigation graph. This shows a list of destinations and an option to create a new destination as shown below.
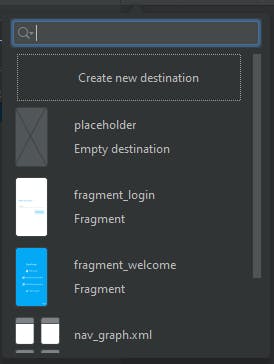
You can select a destination or create a new one.
For this project I have added two destinations as shown below. Note: There are no actions in this graph.
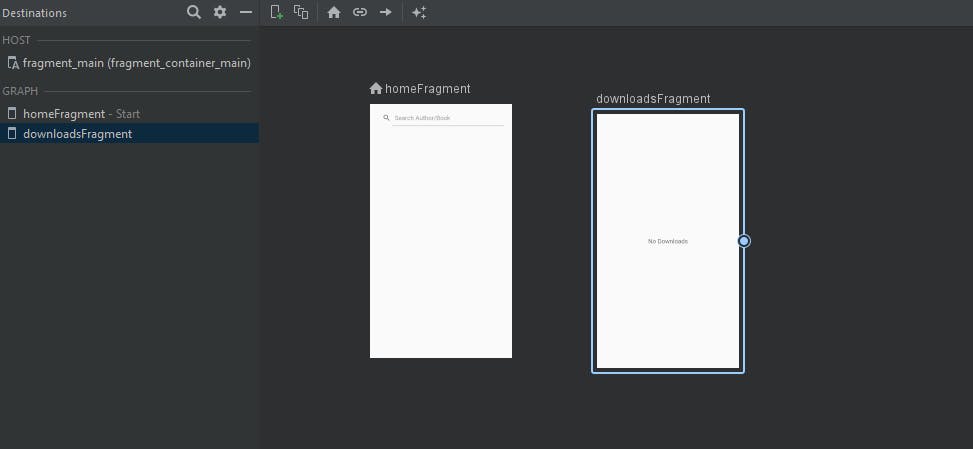
You can open the fragments and add views or just a Textview.
Setting up the NavHost
Add a toolbar, bottomNavigationView and a fragment in the file fragment_main.xml as shown below.
Make sure you add the important attributes to the <fragment/>
android:name="androidx.navigation.fragment.NavHostFragment"app:defaultNavHost =""is set to false to indicate the navigation graph does not handle back presses.app:navGraph="@navigation/nav_graph_main"pointing to the navigation graph of this particular navHost.
Setting up BottomNavigationView
Material design recommends 3 to 5 destinations in a bottomNavigationBar. In this project I have implemented only 2 destinations.
First lets create a menu resource.
- Right click on the res folder > new >Android resource file. A dialog appears as shown below.
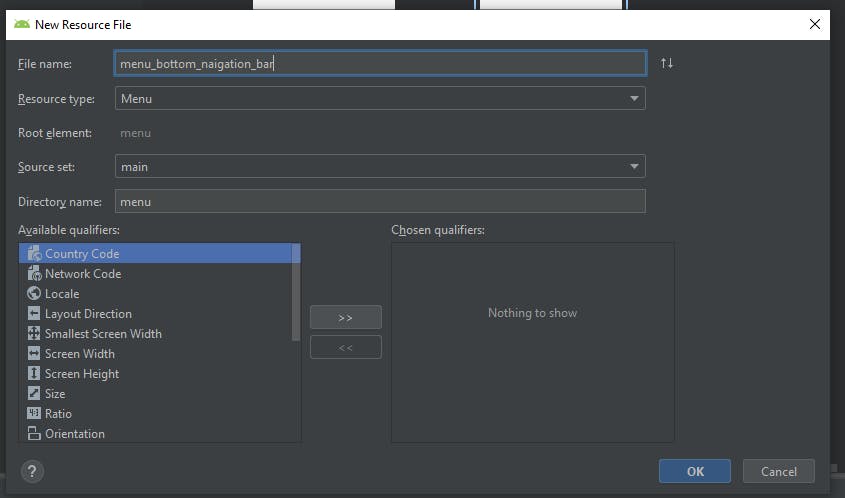
Fill in appropriately and click. This creates a menu folder and with the newly created menu file.
Open the menu file and add menu items as shown below.
Tie destinations to the menu items
NavigationUI provides helpers for tying destinations to menu-driven UI components.
NavigationUI contains helper method
onNavDestinationSelected()which takes a menu item along with the navController that hosts associated destinationThe id of menu item should match the id of a destination in a navigation graph so that the navController can navigate to the destination
Finally we will use setupWithNavController(navHostFragment.navController) to set up the BottomNavigationView. To use this method we will need a navController which we will get from navHostFragment
as shown in the code below.
Setting up the toolbar
We can still use setupWithNavController(navHostFragment.navController) to set up the toolbar as shown below.
.
Up to here you can run the application and be able to navigate to different destinations using BottomNavigationView. However, when you look at the toolbar there is an up button as shown in the figure below.
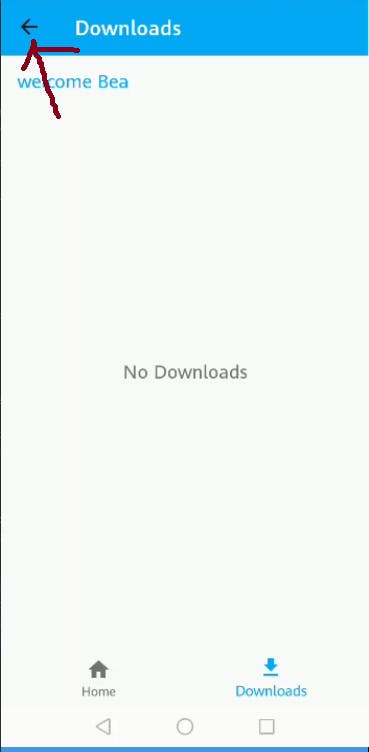
We do not want to have the up button. We want only the title. This can be achieved by implementing a custom navigatedListener as shown below.
On a toolbar, NavigationUI uses destination labels from the navigation graph to keep title of the toolbar updated.
Now, when we run the app and navigate to a destination using BottomNavigationView only title is displayed, as shown below.

Hurray!!! We have successfully implemented bottomNavigationView and toolbar using methods of NavigationUI class.
Resources:
Other articles in the series Android Navigation Components